*** Originally Published 12/4/2004 ***

Overview
Congrats, you either got a Thump, or you want a Thump. Either way let's take a look at what we have here.


The Thump is based on the Half Jacket model. The ear stems are beefed up a bit to fit the circuitry, and the lenses are not inter-changable. They do however flip up to allow use either indoors or in conditions where the light is not sufficient for the lenses.
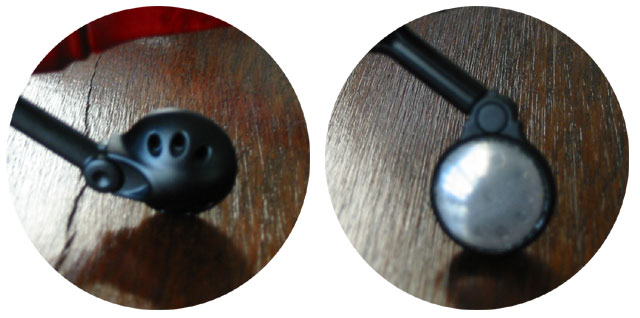
Attached to each ear stem are two speakers, which can be adjusted to fit your ear. There are three ways to move the speakers. First they telescope out from within the frame. This allows for the main adjustment for each person's head size. Second, they swivel around so they can be as close or far away as needed. Finally the speaker part itself swivels on its own axis to better fit into your ear.

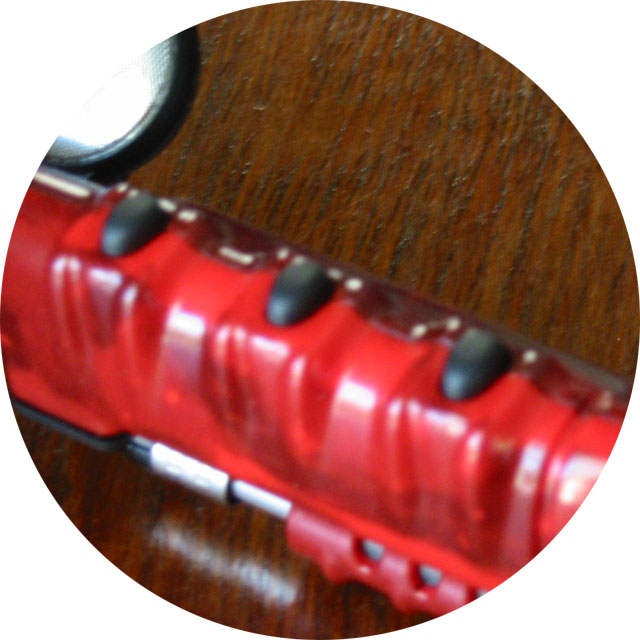
On the top of each ear stem are a set of buttons. Each serves at least one function on its own, and possible a second if used with another button. Button use will be explain further into the guide. Each button may be a little stiff, so it's best to press it once and wait for something to happen.

Near the right ear speaker, there is a USB ports. This will be used for both file transfer and charging the battery. The right speaker must be pushed back into the frame as much as possible in order to fit the USB cable in, otherwise it will be blocked.
That's about it. The next few pages will go over how to use the Thump. I will try to answer as many questions as I can, but if you still need help, remember to consult the manual found in the box.

File Transfer


With your Thump, there should be a USB cable. Spares are available from Oakley. First slide the right speaker back into the frame, then pop the cap on the USB plug. Plug the smaller end of the USB cable into the port. You should feel a snap as it goes into place. Place the other end into your computer. USB ports are usually found in the back, but often are now found in the front under a panel too. Optionally, a USB Hub can be added, which allows you multiple ports in a more accessible place. The Thump is a high speed USB 2.0 device, which will allow you to fill the space in about 30 seconds. However many computers still use USB 1.1 and it will take a bit longer to send the files, but will still work.
After you plug the Thump in, you may hear a notification sound on your computer depending on the Operating system. If you have Windows 95 or 98, you must download additional software from
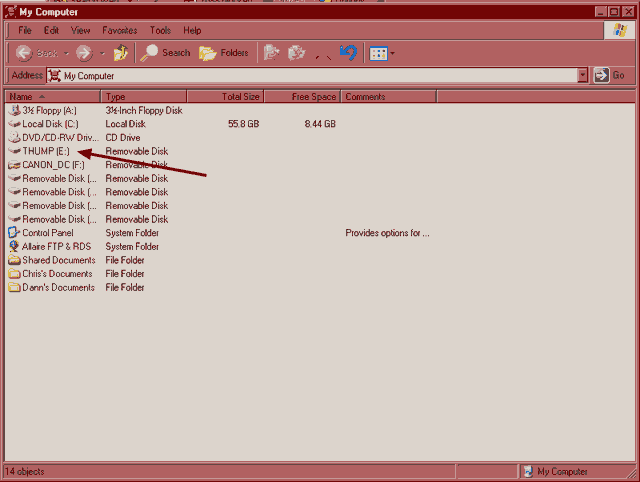
Oakley's Thump Support page in order to get it to work. Windows 2000, XP, and 2003 all support automatic detection of USB storage devices and the Thump will be ready to use after a few seconds of driver installations. MacOS will place the drive directly on your desktop and can be accessed from there. Once the Thump is fully installed, go to 'My Computer' either on your desktop, or in the Start Menu. You will notice that a new drive has appeared and been assigned a new drive letter. The drive will be named either Thump256 or Thump128.

You don't need to keep that name however. If you right-click on the Thump, then click on 'Properties', you will be brought to a screen which will give you some stats on the space usage, but will also let you change the name that shows up. Feel free to personalize, but it only allows a few characters.


Putting files on the Thump is easy. Double-click the Thump drive in 'My Computer' and keep that on the screen. Open another window and browse to your songs. Now just drag and drop. Thump will play your songs in the order you move them, save for folders, which it will play in order after the root files are done. Supported files are MP3, WAV, and WMA after downloading the latest firmware from
Oakley's Thump Support page. You aren't limited to just music files, as any file can be placed on the Thump, which makes it double as a flash drive. Thump will simple skip over those files when playing.

There is one file that should stay on your Thump: SETTINGS.DAT. Please don't touch or remove this file.
From time to time, new software or firmware may be available for the Thump. Firmware is installed directly to the device and is independent of the computer. Software will install to your computer. The downloads will be available from the Oakley Support page above. To install simply download the file to your computer. The file will be in .zip format which will need to be uncompressed. WindowsXP has an integrated zip utility which will make the file look and act like a folder. It is however suggested to copy the files and subfolders to a real folder before running. If you don't have XP,
winzip is a good utility to use. Once the files are in place, make sure your Thump is plugged in and active, then run the setup.exe. The rest will go from there.
It is very important to keep the Thump plugged in during the install process, especially during the firmware updates, as the device is directly altered, and a half-installation may prevent the Thump from functioning. The Thump can be reset to factory defaults, which will be explained on the next page.
Using the Thump

If the Thump is new, then most likely the battery isn't up to full charge. To make sure the Thump is properly powered, it needs a full 3 hour charge, however 80% of that can be accomplished with just one hour of charging. To charge, just leave the USB cable plugged in while your computer is on, and not in a sleep or hibernation mode.
Signs of low battery can be determined by certain audio signals and the LED. The LED is on the right stem near the USB port. It will flash every 5 seconds if the battery is below 30% and the Thump is on. Also a Thump-Thump sound will play during the music at times to warn you once it has reached this low level. When the power level is down to 10%, the same signals will occur, but if you turn the device off, it will not come back until you've charged it to at least 30% again. If you do not turn the Thump off, it will play until the battery is drained.
 | After putting the Thumps on press the middle button on the right to turn the Thump on. You only need to press it once. After a second you should hear a Thump-Thump sound, and then the first song should play. While listening, pressing it again will pause the playback; again and it will resume playback. To turn the thump off, you will need to hold the button down for five second. You will hear the same Thump-Thump sound as it shuts off. The song you were last listening to will still be cued up the next time you turn the Thump on, but will play from the beginning. |
 | The front-right button will advance one song for each time it is pressed. Alternatively, if you pause playback each time you press next it will advance 5 songs. Playback will not resume until you press the Play button. Holding the button down will fastforward, but you won't hear any sound. |
 | The back-right button will back up one song if the song has just started. It will move to the beginning of the song, if the song is already in mid-play. Holding the button down will rewind, but you won't hear any sound. |
 | Pressing the back and front buttons at once during playback will turn shuffle mode on. Next and Previous buttons will choose a new random song as well. |
 | Pressing the back and center buttons at once will reset the Thump to factory defaults. This may be needed should anything go wrong, or the Thump will not turn on. |
 | Pressing the back-left button will decrease the volume. Holding it down will rapidly turn the volume to nothing. |
 | Pressing the front-left button will increase the volume. Holding it down will rapidly turn the volume to max. |
 | Pressing both left buttons will activate bass boost. |
That's about it. Many thanks to the great people over at
Thump Info.com for their tips and advice.


 Glasses
 Goggles
 Watches
 Alphabetical
 Video Reviews